Connect for Platforms: Go-live checklist
This page guides you through the process of integrating Mollie Connect features into your Platform and getting your integration ready for launch.
-
Review your account structure
Your Connect integration process might vary based on the business model you operate. We’ve customized the features you might want to use based on your choices, so we recommend considering the following:- What's your commercial model?
- How will you invoice your customers?
- Do you plan on splitting payments or charging application fees?
For Platforms, we recommend application fees.- Who will handle refunds and chargebacks?
- Ensure that Platform (SaaS) is the right business model for your use case.
The main question we recommend considering is:- Do you or your customers offer the ability to purchase goods from multiple sellers in a single basket/checkout?
If the answer is Yes - your business is most probably a Marketplace.
- Do you or your customers offer the ability to purchase goods from multiple sellers in a single basket/checkout?
- Some other questions to consider are:
- ● Your customer = SaaS
- ● Your platform = Marketplace
- ● Your customer = SaaS
- ● Your platform = Marketplace
- ● Your customer = SaaS
- ● Your platform = Marketplace
- ● Your customer = SaaS
- ● Your platform = Marketplace
- Get ready for development
- What payment methods do you want to offer?
- What account management features do you need?
- Are you looking to set up reporting (e.g dashboards and insights)?
- Will you be offering in-person payments?
- Which set of permissions do you need to request for each customer?
ImportantAdding permissions at a later stage will require the customer to re-connect the app.
- Build your app
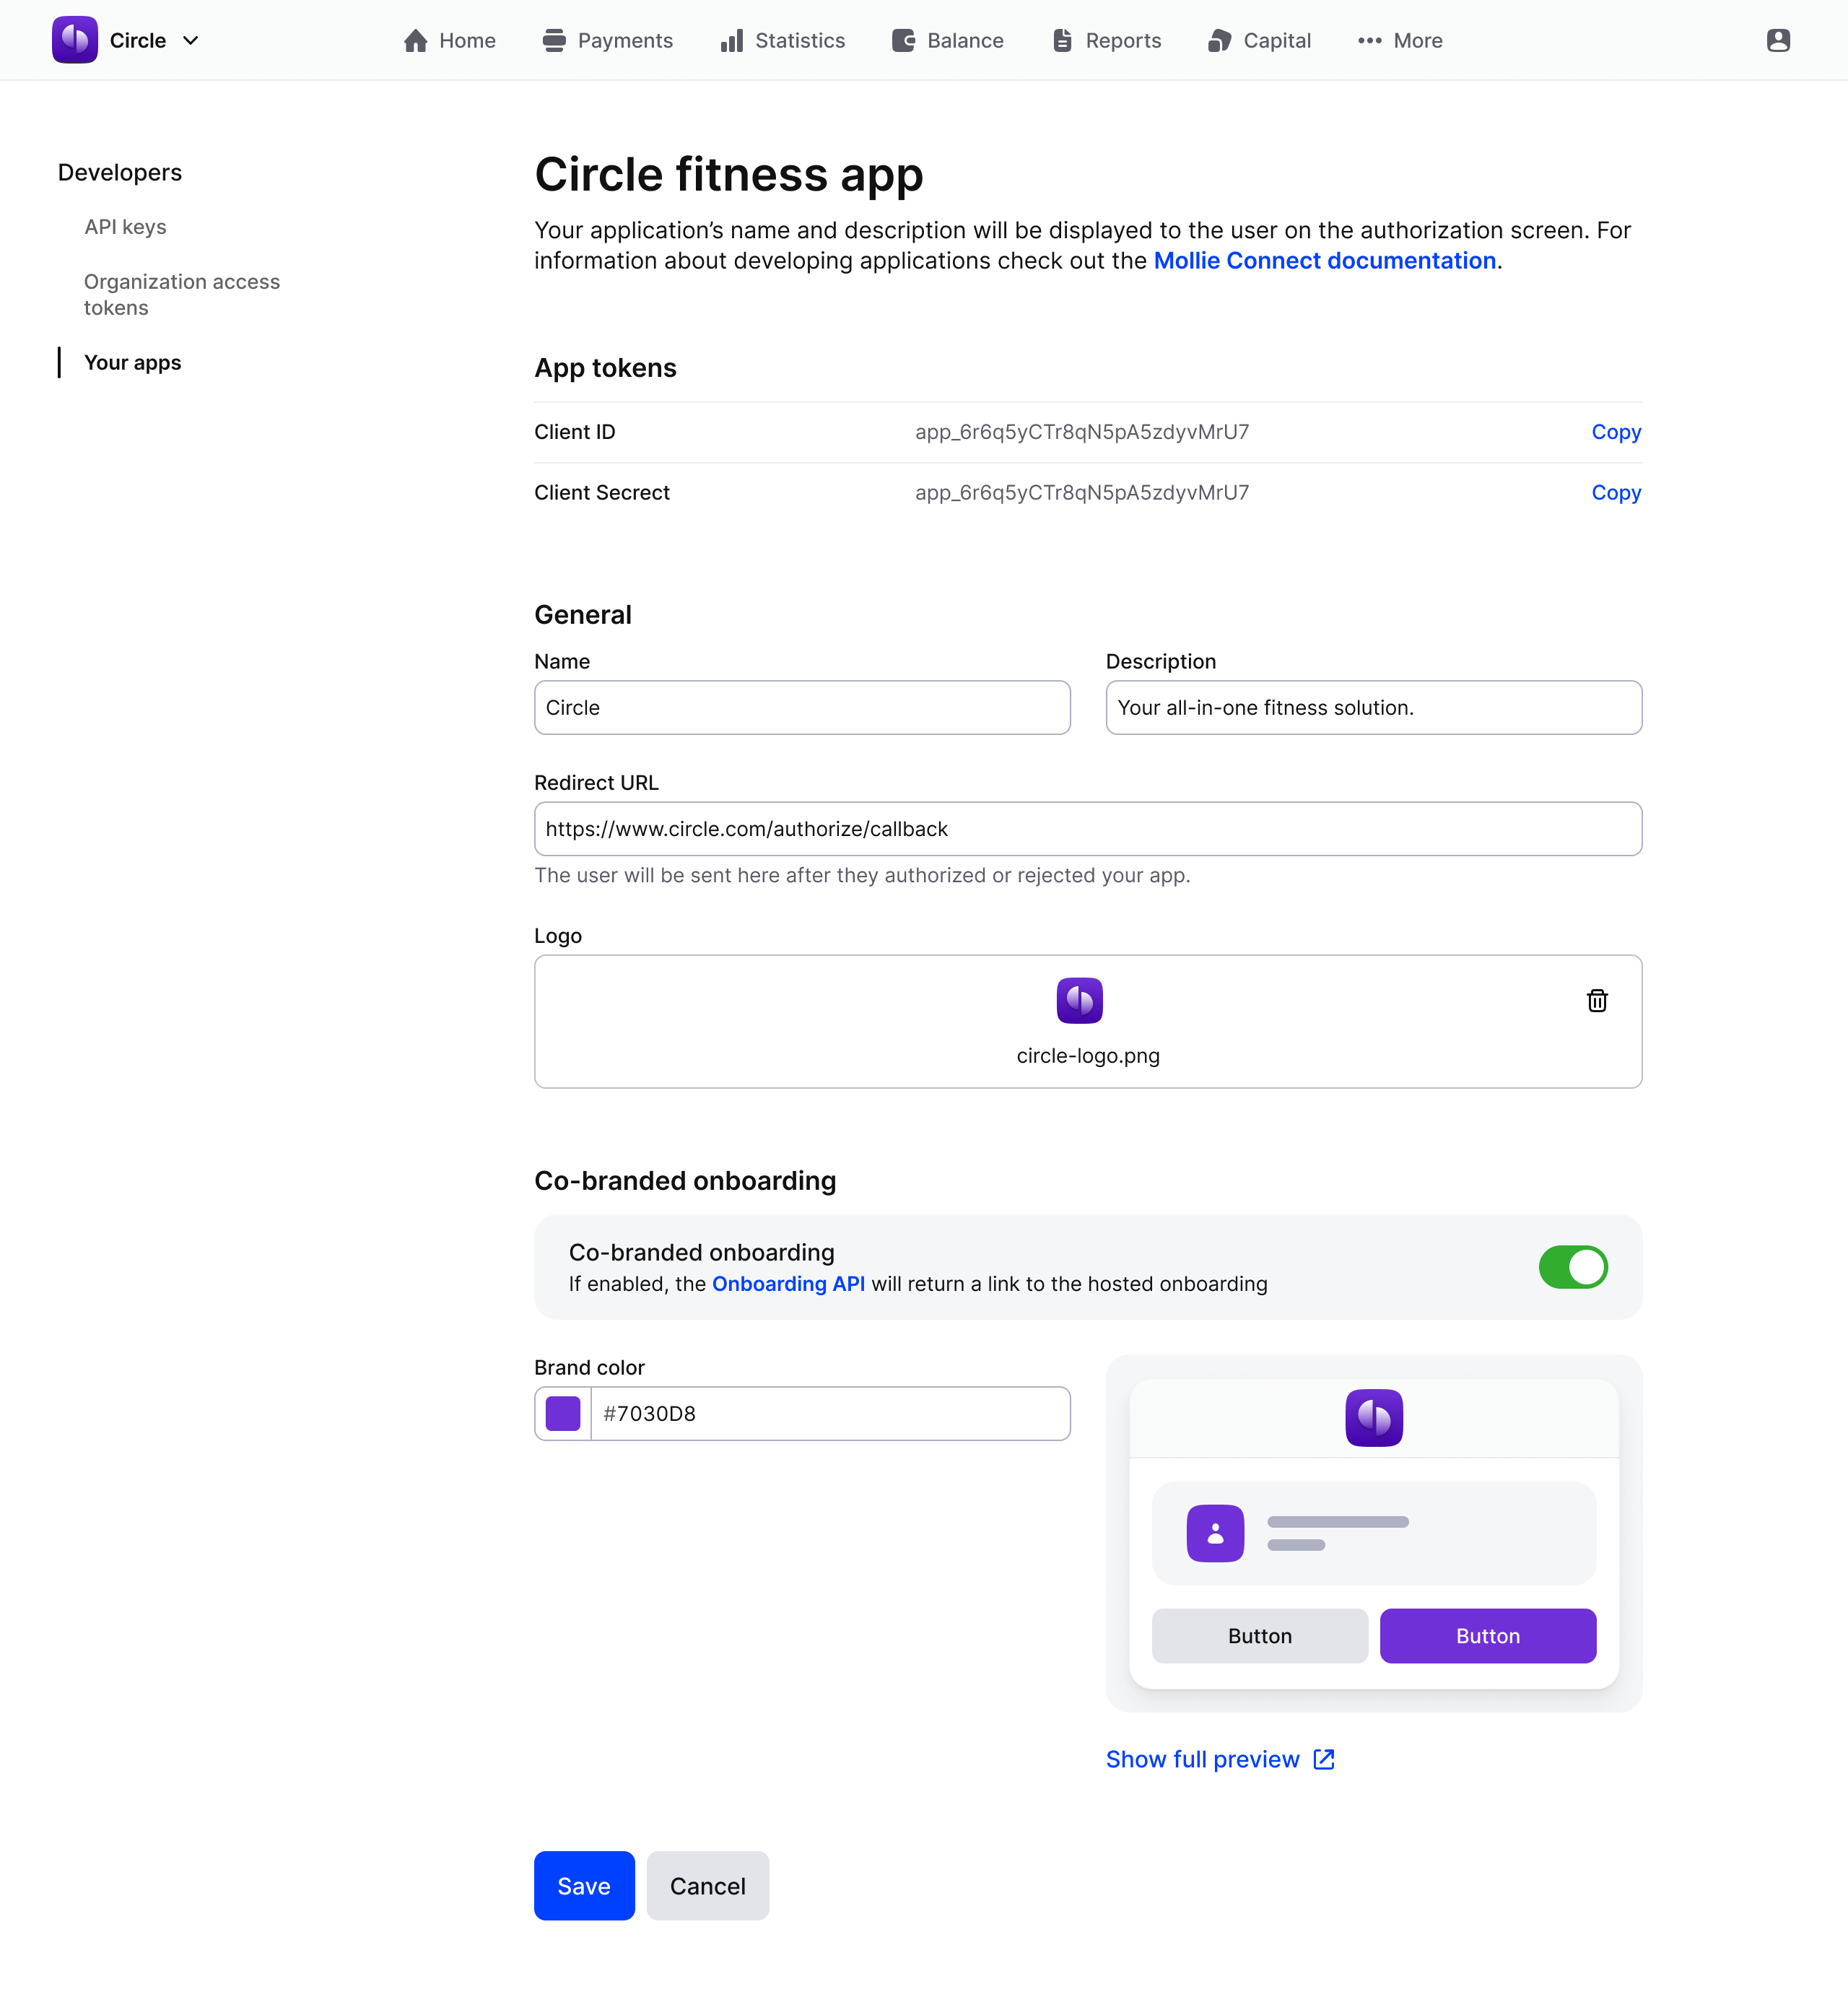
- Create and set up your OAuth app.
(Optional: add co-branded onboarding)

- Connect and onboard your existing customers or create accounts for new customers by sending their business details to the Create Client Link endpoint, enriching it with the OAuth app details.
- Wait for them to complete the verification.
While waiting for your customer to complete their onboarding, use the Onboarding status endpoint response to display the appropriate message.
- Test your app
- Accept your first test payment.
Once the Onboarding status endpoint returnstrueforcanReceivePayments, you can start creating payments and test it by processing your first test payment. You can read more about testing your app in the Testing the Mollie API guide. - Set up the initial reporting.
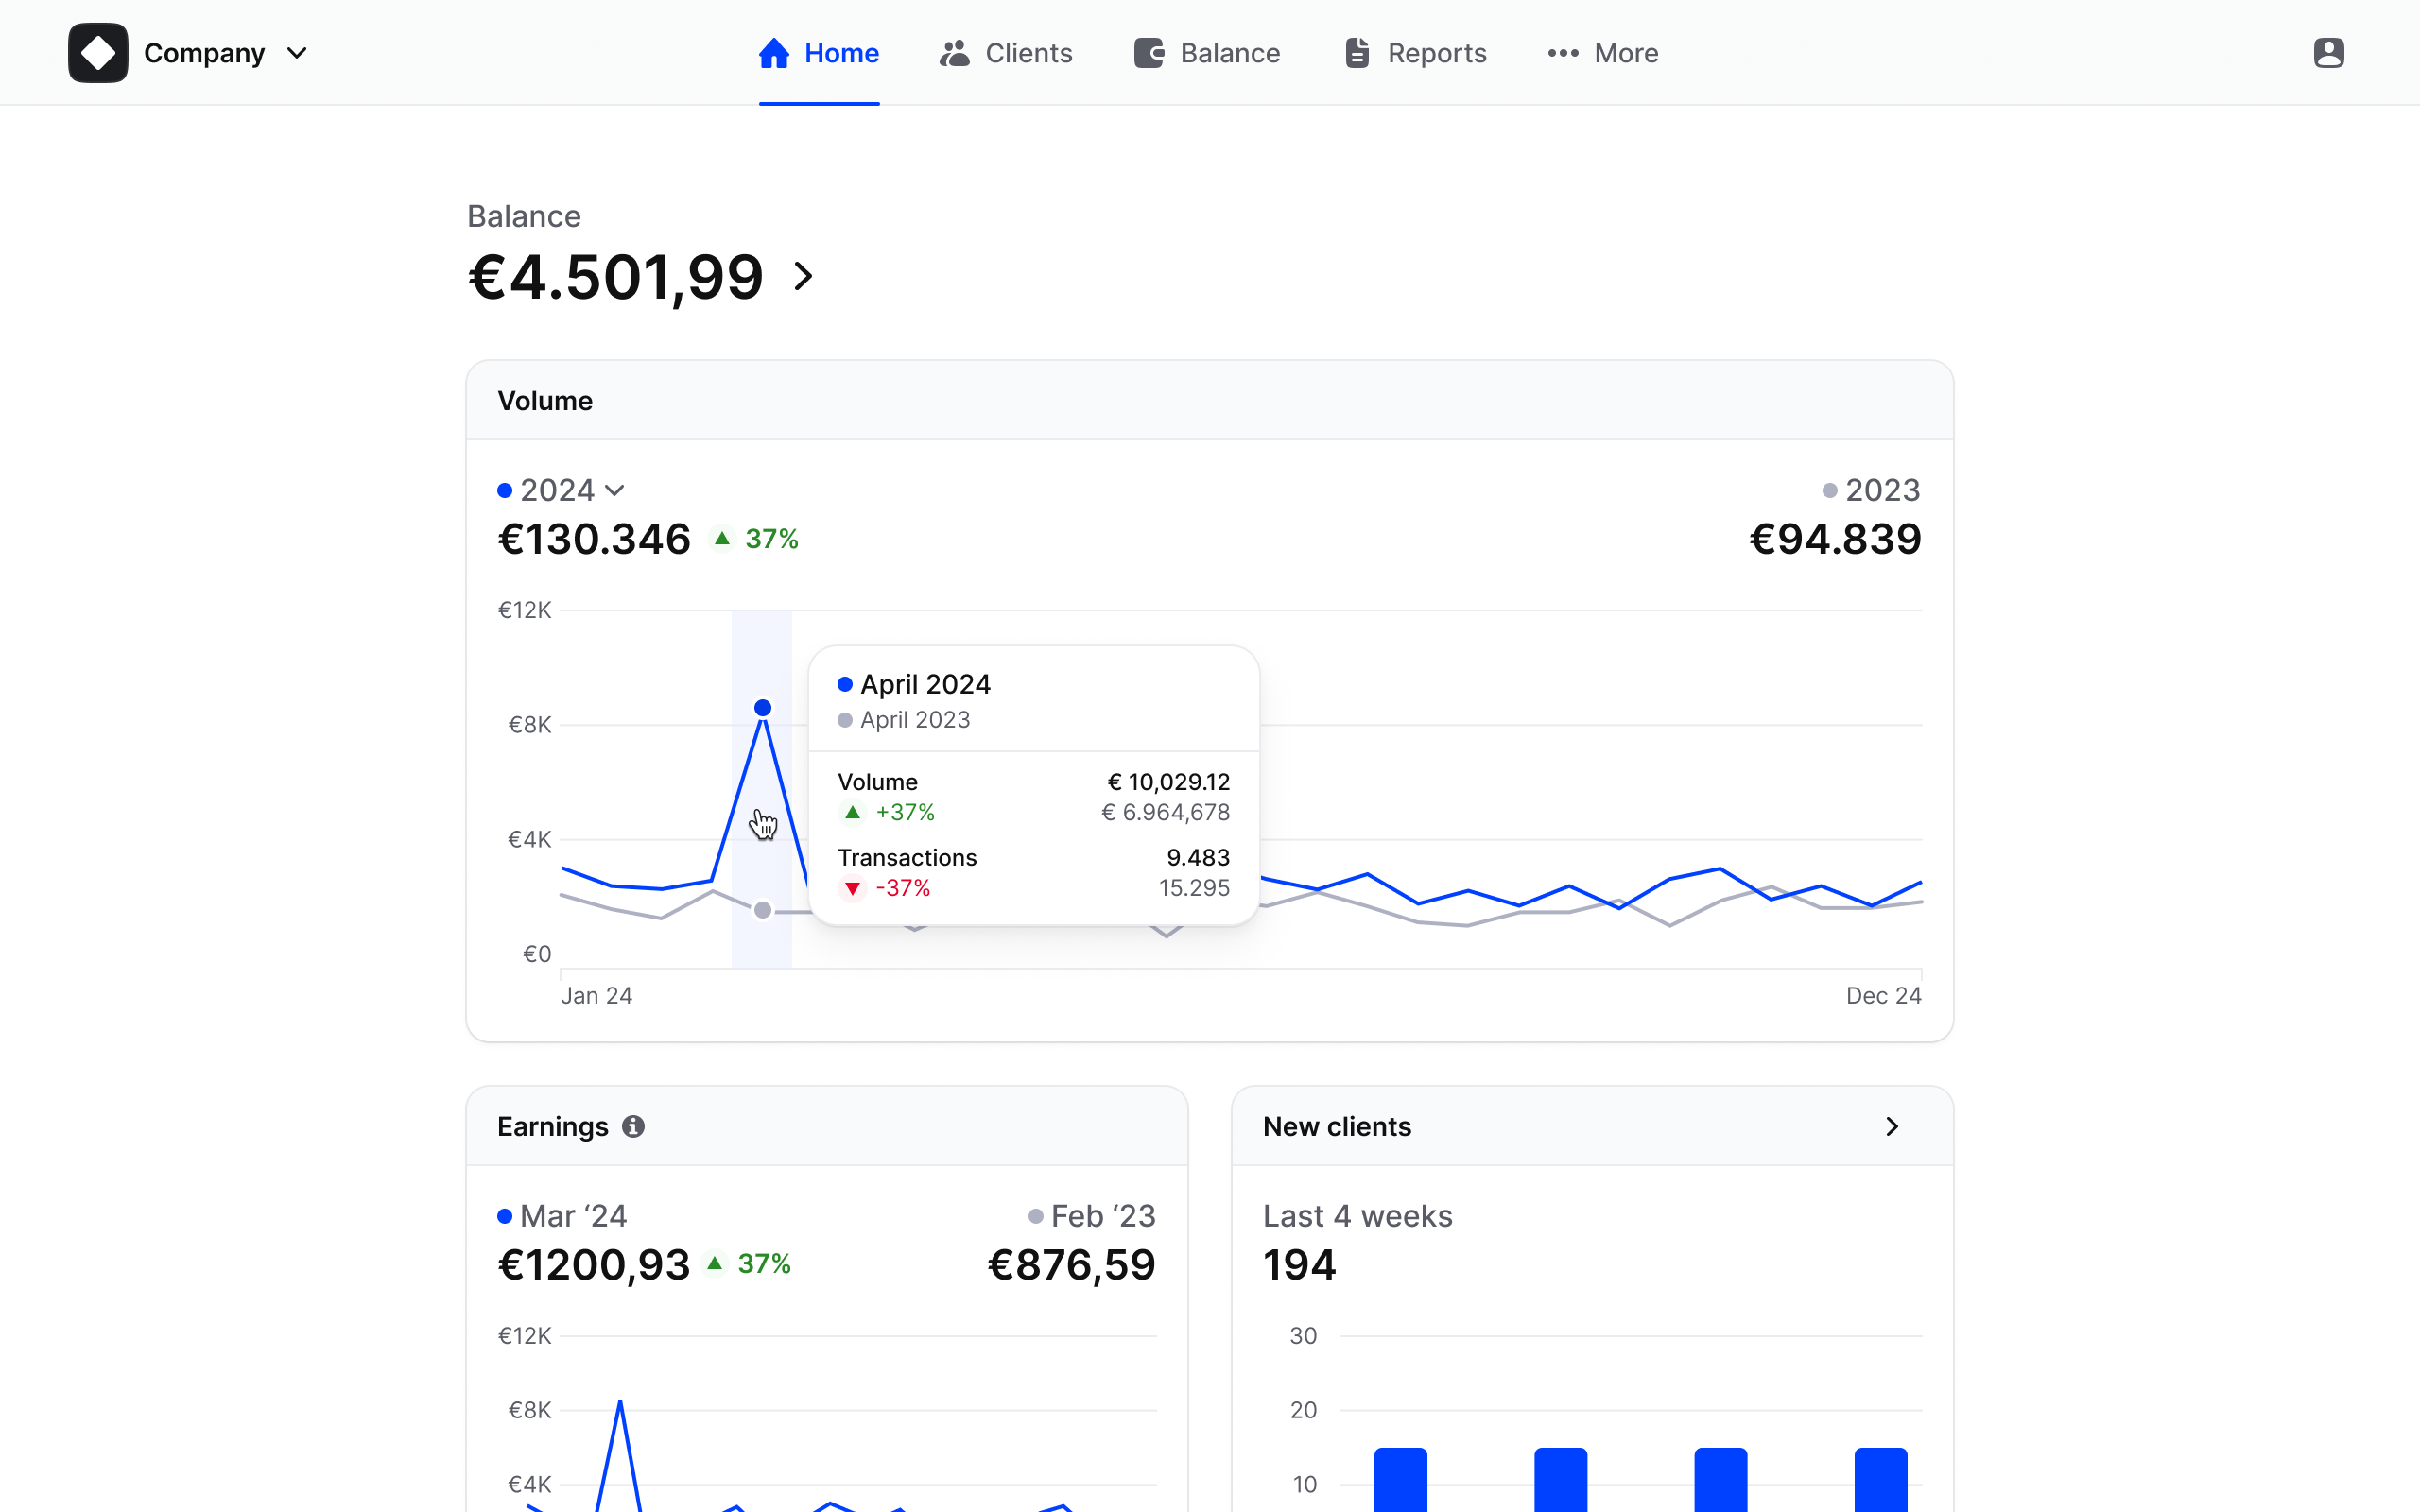
Using our Business Operations APIs you can set up your first reporting tools to integrate Mollie into your bookkeeping. Mollie also offers a quick overview of your clients and main business KPIs in the Web app:

- Optional: Develop a rollout strategy
Prepare a planned rollout strategy to ensure a smooth transition and minimize any disruption to your and your clients' business operations. Below is an example of some key considerations for going live:
- Ensure that your setup meets regulatory requirements and consider your local regulations.
- Prepare communication plans for informing your new and existing customers.
- Include change management approach etc.
- Go live with first customer
Any payments or other resources you create in the test mode are completely isolated from your live mode data, so after you finished testing your flow it's time to go live.
When working with Mollie Connect, you are using organization access tokens (created in the Web app) or app tokens (created via OAuth) as your authentication method and going back and forth between test and live mode is as easy as toggling the testmode parameter.
- Optional: Follow the rollout strategy
By following your rollout strategy and considering the key aspects of the setup, your integration using Mollie Connect for your business should be smooth and successful. It is recommended to do the following:
- Continuously monitor transactions, payment success rates, and investigate any anomalies.
- Offer robust customer support.
- Regularly collect user feedback regarding their payment experience etc.
Updated 8 months ago