Odoo: Mollie Shipment Sync module
Using Mollie Shipment Sync module, you can effortlessly sync your Odoo shipment details with Mollie.
Install
- Download the module and add it to your Odoo addons folder (or click the Deploy on Odoo.sh button. The name of the module is
mollie_shipment_sync. - Log in to your Odoo server > Apps. Turn on the debug mode and click the Update Apps List link.
- Install the module
mollie_shipment_syncby clicking the Install button.
Connect
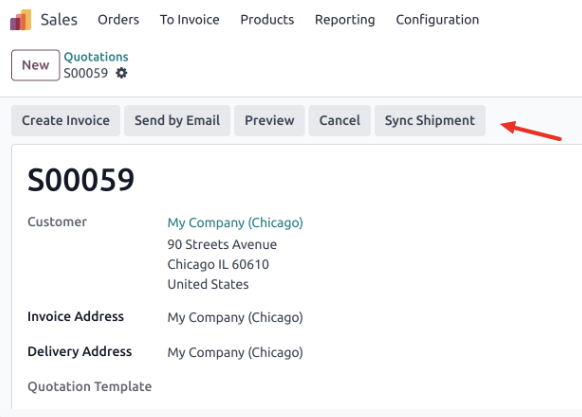
No pre-configuration is needed for this module, you can start using it right after you install it. To synchronize your order's shipment details, select a specific order and click Sync Shipment:
Syncing without using Inventory module
You can update the delivered quantity manually on the Sales Order:
- Open a specific order and enter the shipped quantity directly in the Delivered field:

- Save the changes and click Sync shipment to update Mollie and release the payment.
Syncing using the Inventory module
When using the Inventory module, you can not edit the delivered quantity.
To confirm the delivery slip, just follow the standard Odoo flow and once the slip is confirmed, go to a specific order and click Sync shipment to update shipment information in Mollie and release the payment.
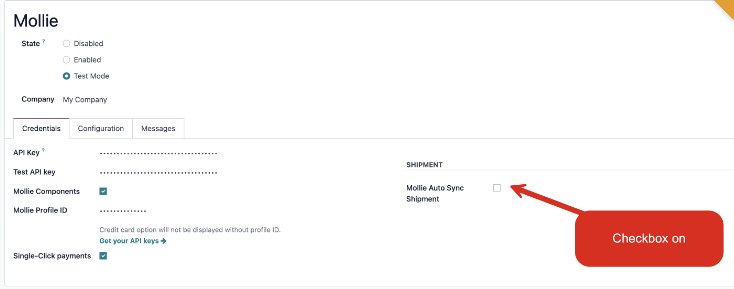
Enable automatic sync
Enable automatic synchronization by scheduling a cron job that will run every hour.
- Go to Payment Providers > Mollie > Credentials tab.
- Check the Mollie Auto Sync Shipment box:
To change the time between synchronizations, follow the steps below:
- Go to the debug mode.
- Navigate to Settings > Technical > Scheduled Actions > Mollie: sync shipment data and edit the Execute Every_ Hours field:

Updated about 1 year ago