
Setting up terminal
Receiving your first terminal
To get started, you can request one or more terminals either via the Mollie Web app or via your account manager.
Your terminal will have an alias and a 4-digit passcode, which will be provided to you. In addition to this, each terminal has a unique identifier called ‘terminal ID’. This ID will be used to create payments for the specific terminal. For more information, check the ‘Accepting payments’ section below.
The terminal information can be retrieved via the List terminals v2 API. After requesting a terminal, its status will be pending, followed by an active status once it is ready to accept payments.
Terminals are linked to a specific payment profile. Larger merchants can thus create separate payment profiles to group terminals according to their needs. For example, merchants may want to have a payment profile for each physical store.
Setting up the terminal
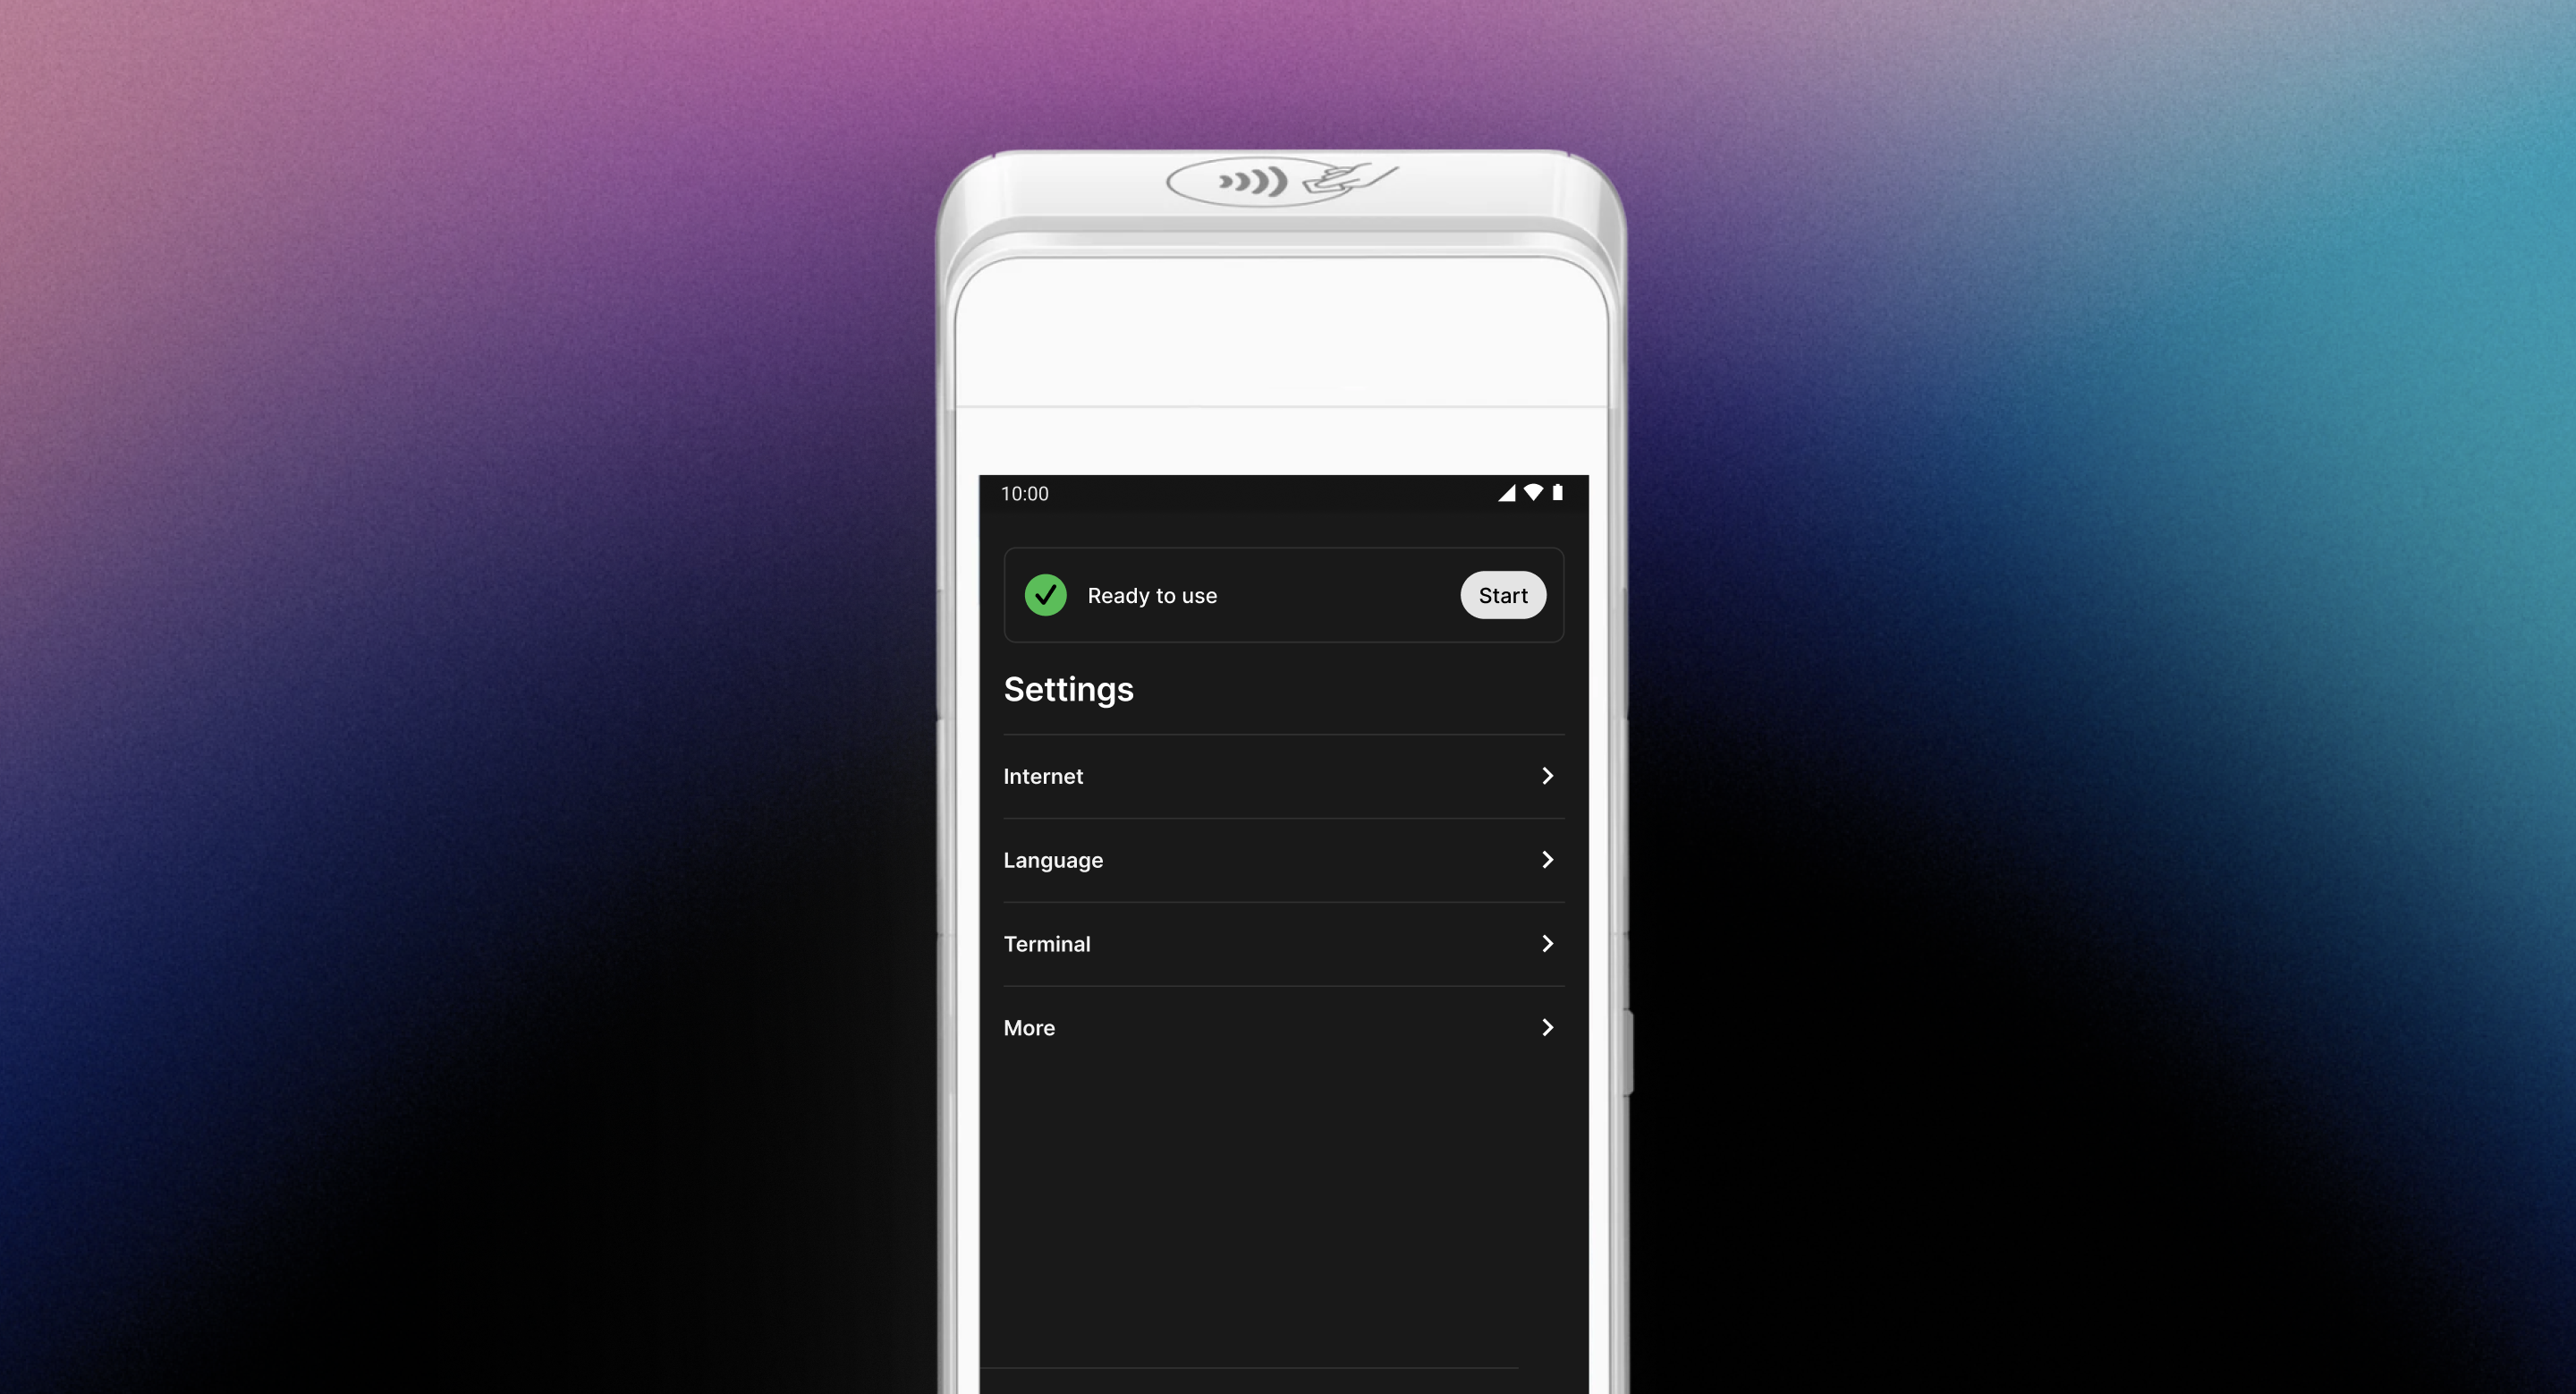
Once you receive the terminal, you can turn it on. The terminal guides you through an onboarding process that involves configuring network preferences. Ensure that the terminal status is Ready to use. Then, tap the “Start” button and you can start accepting payments.
The terminal menu is protected by the 4-digit passcode shared with you when you receive your terminal.
If you want to reaccess the terminal menu, tap three times on the Mollie screen and input your passcode.
Accepting payments
Once your terminal is turned on and connected to the internet, you can start accepting payments.
Simply call the Create payment endpoint like you are used to, but in this case provide pointofsale as the payment method, along with your terminal ID in the terminalId parameter.
For example:
curl -X POST https://api.mollie.com/v2/payments \
    -H "Authorization: Bearer live_dHar4XY7LxsDOtmnkVtjNVWXLSlXsM" \
    -d "amount[currency]=EUR" \
    -d "amount[value]=10.00" \
    -d "description=My first in-person payment" \
    -d "redirectUrl=https://cash-register.example.org/order/12345/" \
    -d "webhookUrl=https://cash-register.example.org/payments/webhook/" \
    -d "method=pointofsale" \
    -d "terminalId=term_7MgL4wea46qkRcoTZjWEH"
<?php
$mollie = new \Mollie\Api\MollieApiClient();
$mollie->setApiKey("live_dHar4XY7LxsDOtmnkVtjNVWXLSlXsM");
$payment = $mollie->payments->create([
"amount" => [
"currency" => "EUR",
"value" => "10.00"
],
"description" => "My first in-person payment",
"redirectUrl" => "https://cash-register.example.org/order/12345/",
"webhookUrl" => "https://cash-register.example.org/payments/webhook/",
"method" => "pointofsale",
"terminalId" => "term_7MgL4wea46qkRcoTZjWEH"
]);This will set up a €10,00 payment on the terminal. The device should display the transaction within seconds, and it will ask you to present a card.
If you present a card and confirm the card PIN, the payment will be executed. If the payment succeeds, you will receive a webhook about it, and the funds will be moved to your balance the same way as for online card payments.
To cancel the payment, simply press the cancel button on the device.
Webhooks
Whether the payment succeeds, fails, or gets canceled, we will always send you a webhook once the payment reaches a final state. The webhook URL can be provided per payment, and works precisely the same way as it does for online payments.
Refunds and chargebacks
Mollie provides refunds on point-of-sale payments exactly the same way as for any other payment method. Just look the payment up in the Mollie Web app or mobile app and press the ‘refund’ button to start the process.
To perform a refund via our API, please refer to the Create refund endpoint.
Chargebacks are less encountered for point-of-sale payments, as the cardholder has to physically present the card during payment. Point-of-sale chargebacks work in a similar way as online card payments do. For more information, check our chargebacks article.
Updated 6 months ago