Direct integration of Apple Pay
Integrating Apple Pay in your own checkout allows you to add the “Checkout with Pay” button as you deem fit. Apple provides guidelines on how and where you should add the Apple Pay buttons.
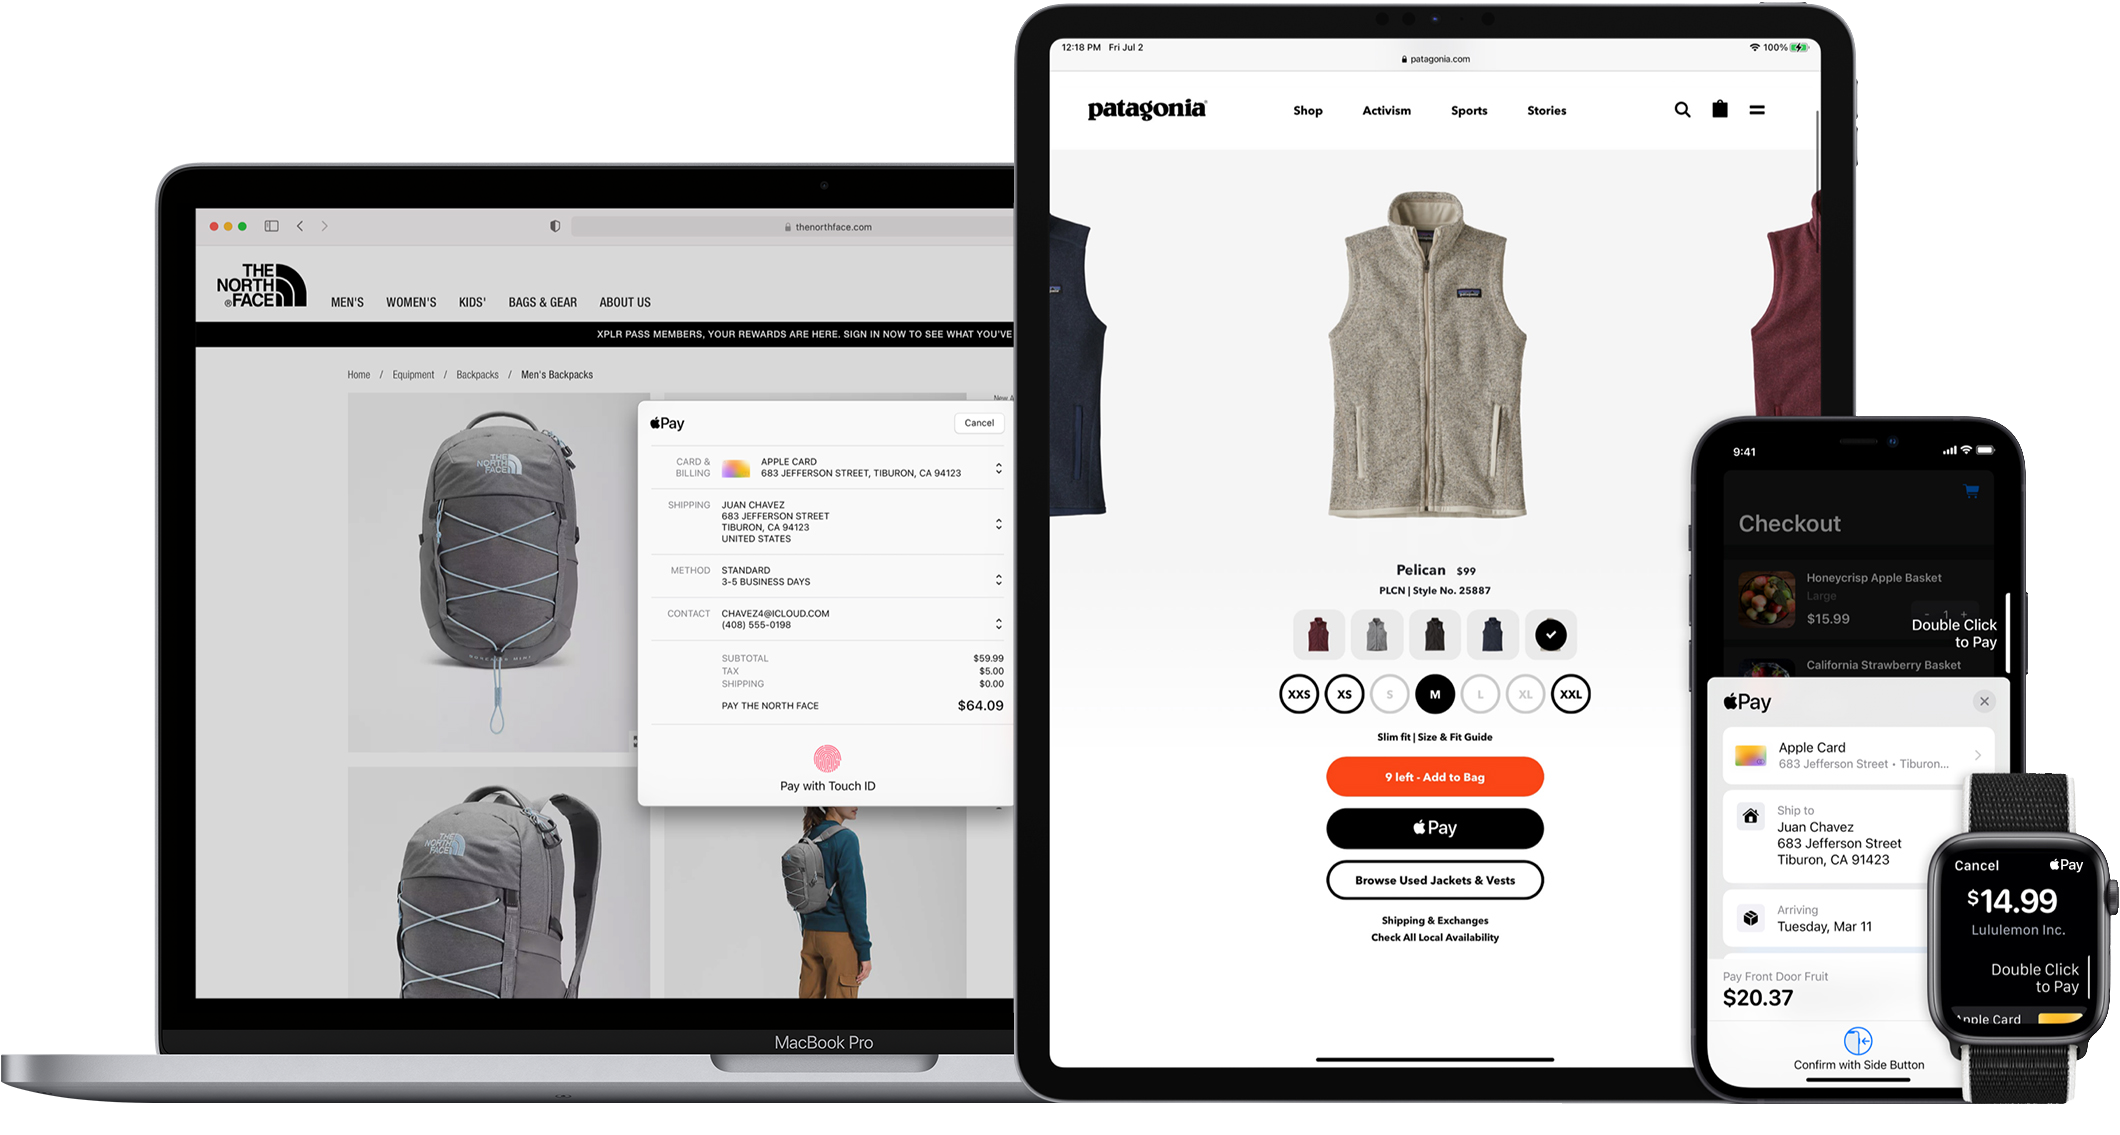
Beside payments information, Apple Pay allows you to get the billing and shipping addresses from the shopper too. This enables a fast and frictionless checkout.
With the direct integration, you are responsible for implementing Apple’s JS APIs. Mollie will provide API endpoints needed by the JS APIs and the ability to send the encrypted Apple Pay Payment Token when creating a payment.
You do not need to join the Apple Developer Program for this integration, just follow the steps below to offer Apple Pay in your own checkout.
See more on Apple Pay's functionality here.
Prepare your server
Your checkout must be served over HTTPS. Up to date TLS ciphers are required. For more information, see Apple’s documentation on setting up your server.
Apple Pay requires you to place a domain validation file on the domain you want to use the Apple Pay JS APIs on. The presence and validity of this file will be validated by Apple.
Download the domain validation file and place it on your server at https://[domain]/.well-known/apple-developer-merchantid-domain-association.
Check if Apple Pay is available on the device
Check if Apple Pay is available on the device using the canMakePayments method.
If Apple Pay is available on the device, you should display the Apple Pay Buttons.
Create an Apple Pay Session
When the shopper taps or clicks the Apple Pay button, you should create an Apple Pay Session. This specifies all the information you want to display to the shopper and details on the payment.
When constructing the ApplePayPaymentRequest, always set the following parameter values:
- merchantCapabilities:
["supports3DS"]. - supportedNetworks:
["amex", "maestro", "masterCard", "visa", "vPay"]
Note: for FR customers, add cartesBancaires to the array of supportedNetworks to accept Carte Bancaires scheme.
Providing merchant validation
The merchant validation proves (to Apple) that a validated merchant is calling the Apple Pay Javascript APIs. To perform the validation, your server should make an API call to Mollie and pass the response to the Apple Pay Session object.
See Apple’s documentation on providing merchant validation for details.
Instead of using Apple’s API, you must use a dedicated endpoint in the Mollie API.
Send the Apple Pay Payment Token to Mollie
Once the shopper has authorized the payment, you will receive the Apple Pay Payment object. You must then encode the object’s token property to JSON and add the JSON as the applePayPaymentToken parameter when invoking the Create payment endpoint.
Example request
curl -X POST https://api.mollie.com/v2/payments \
    -H "Content-Type: application/json" \
    -H "Authorization: Bearer test_dHar4XY7LxsDOtmnkVtjNVWXLSlXsM" \
    -d '{
        "method": "applepay",
        "amount": {
            "currency": "EUR",
            "value": "100.00"
        },
        "description": "Order #1337",
        "applePayPaymentToken": "{\"paymentData\": {\"version\": \"EC_v1\", \"data\": \"vK3Bbr...lg==\"}}",
        "webhookUrl": "https://example.org/webhook"
    }'
<?php
$mollie = new \Mollie\Api\MollieApiClient();
$mollie->setApiKey("test_dHar4XY7LxsDOtmnkVtjNVWXLSlXsM");
$payment = $mollie->payments->create([
"method" => "applepay",
"amount" => [
"currency" => "EUR",
"value" => "100.00"
],
"description" => "Order #1337",
"applePayPaymentToken" => $applePayToken, // ensure the Apple Pay token is a json encoded string
"webhookUrl" => "https://example.org/webhook"
]);Handling errors
After your customer authorized the payment, you will still need authorization from the issuer of the card. This authorization may fail, for example if your customer has insufficient balance remaining on the card.
You will then receive an error when creating the payment:
HTTP/1.1 422 Unprocessable Entity
Content-Type: application/hal+json

{
     "status": 422,
     "title": "Unprocessable Entity",
     "detail": "The transaction was declined by the issuer",
     "_links": {
         "documentation": {
             "href": "https://docs.mollie.com/overview/handling-errors",
             "type": "text/html"
         }
     }
 }
Testing
You can make test payments on Apple Pay Direct. However, you will need to do the Request Apple Pay Session API call in live mode, and only use test mode for the subsequent Create Payment API call. Please note that the requirements for your server still apply, and Apple needs to be able to verify your domain, so make sure https://[domain]/.well-known/apple-developer-merchantid-domain-associationis publicly accessible and not protected by e.g. basic auth.
Updated 4 months ago